How to remove background from picture for free with AI. A Step-by-Step Guide
January 3 2024
In the world of digital content creation, removing the background of an image is a common task that often requires time and effort. However, with the advent of AI-powered tools like Snapclear, this process has become much simpler and more efficient. In this article, we will guide you through the steps of removing image backgrounds using Snapclear’s AI technology, ensuring stunning results while saving you valuable time. Let’s dive in!
Step 1: Download and Install the Snapclear Application
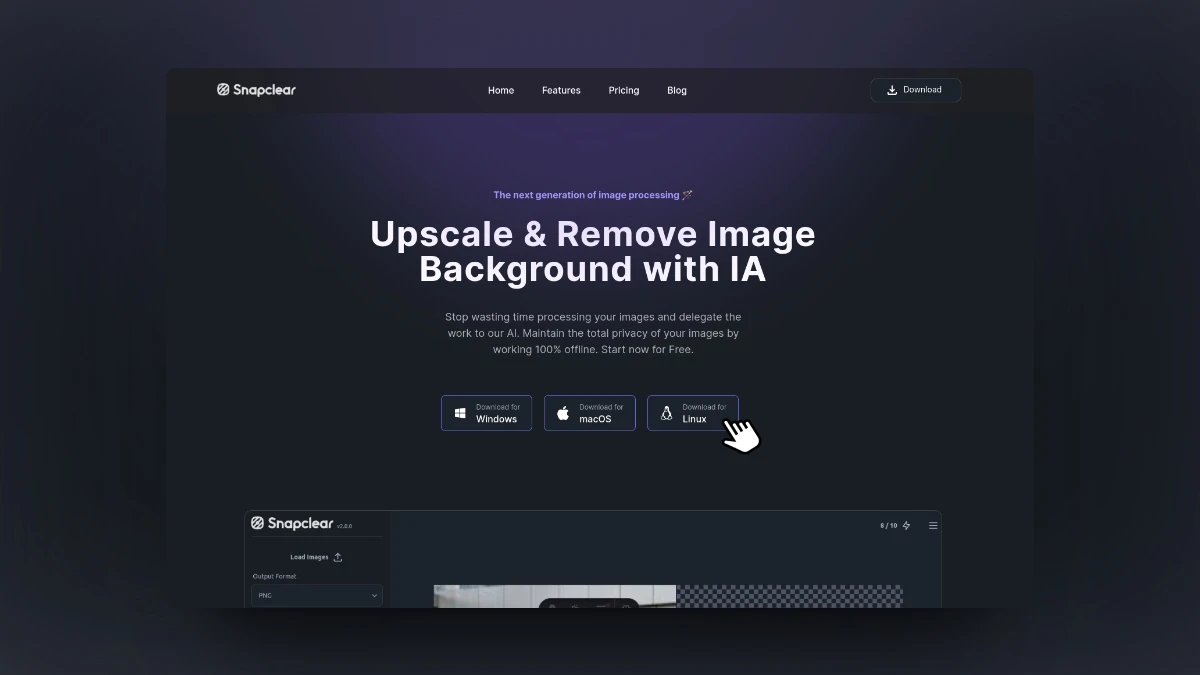
To begin, open your preferred web browser and visit the Snapclear website at https://www.snapclear.app/. Once on the Snapclear website, you will find options to download the Snapclear desktop application for Windows, macOS, or Linux. Choose the version that is compatible with your operating system and follow the prompts to install it on your computer. This offline application ensures the privacy and security of your images as all processing is done locally.
Step 2: Launch the Snapclear Application
After installation, open the Snapclear application on your computer. You will be greeted with a clean and straightforward interface that is designed for ease of use.
Step 3: Load the Image for Background Removal
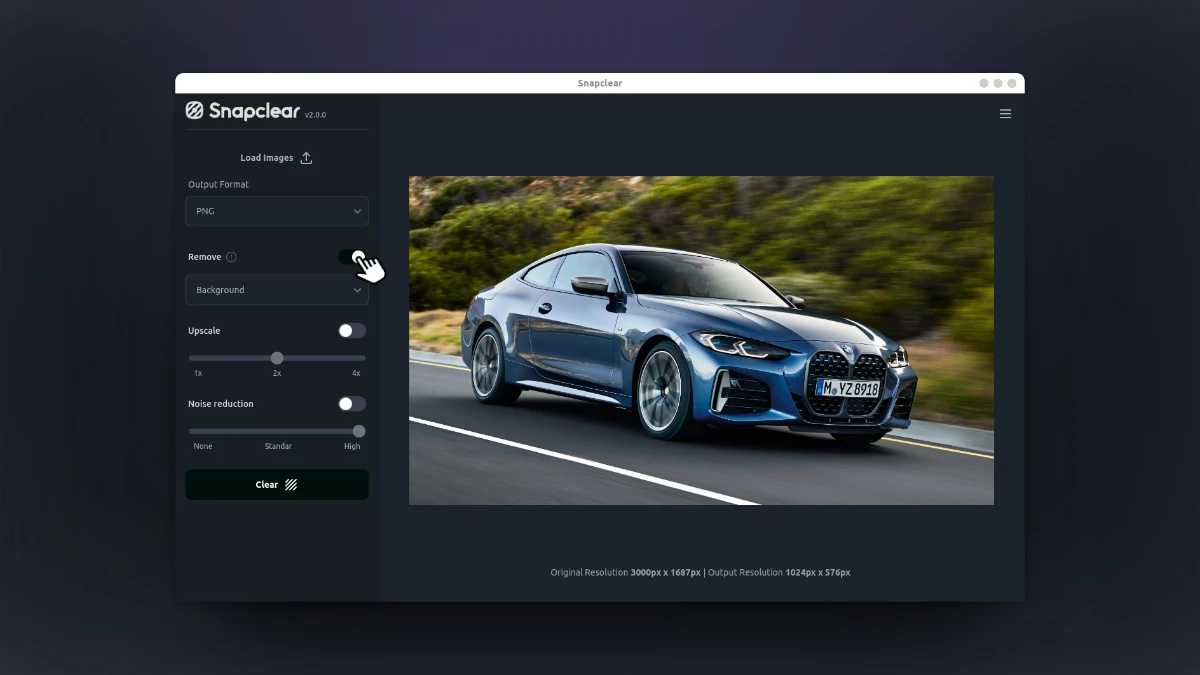
In the Snapclear application, you will find an “Load Images” button. Click on it to select the image you want to edit. Alternatively, you can simply drag and drop the image into the application or copy and paste. Snapclear supports various image formats, allowing you to work with different file types like .JPG, .PNG or .WEBP.
Then set the Output format to .PNG and enable the option Remove Background in the sidebar menu if is not already selected.
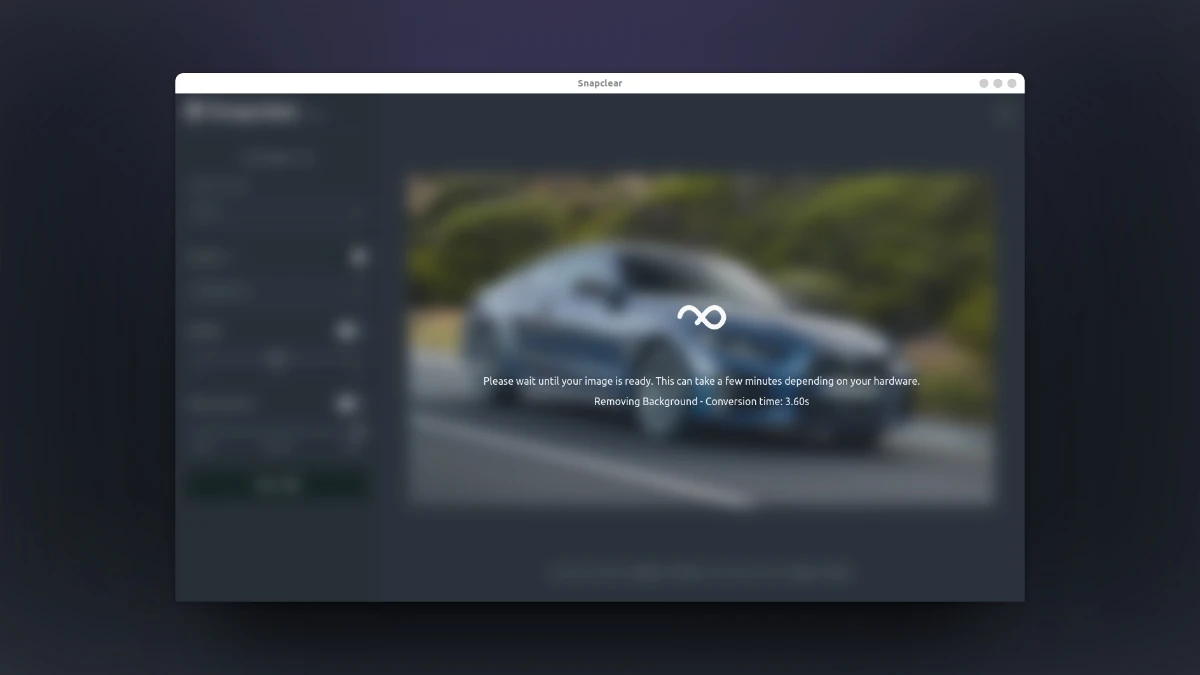
Step 5: Let Snapclear’s AI Work its Magic
Once you set the options of the output you want to get, just click the button Clear and the AI algorithm of Snapclear will begin processing the image to remove the background. This may take a few seconds, depending on the complexity of the image. Sit back and let the AI work its magic!
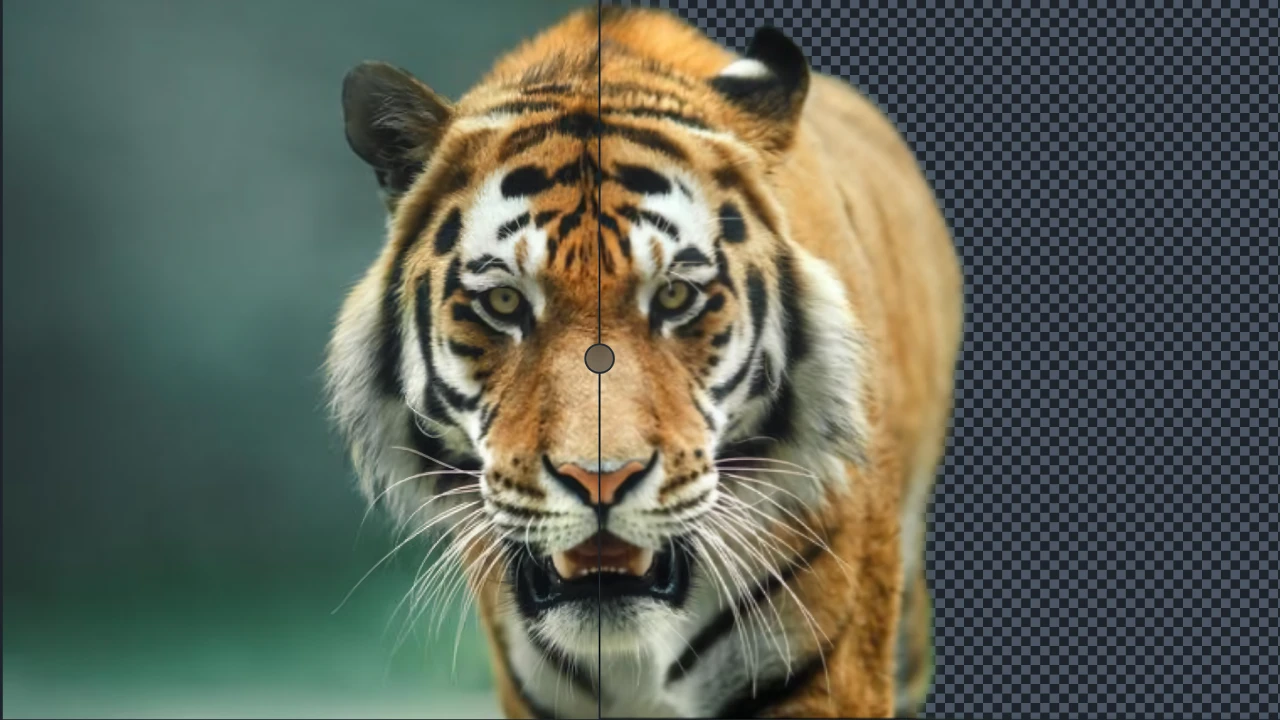
Step 6: Preview and Refine the Result
After the background removal process is complete, Snapclear will display a preview of the edited image with the background removed. Take a moment to review the result and ensure it meets your expectations. If needed, you can make combine adjustments using the additional tools provided by Snapclear, such as resizing or noise reduction.
Step 7: Download the Edited Image
Once you are satisfied with the result, it’s time to save the edited image to your computer. Simply click on the “Download” button within the Snapclear application, and the edited image will be saved in your preferred location or you can even copy the picture to your clipboard using Ctrl + C . Congratulations on successfully removing the background!

Snapclear’s AI technology ensures accurate and efficient background removal, even for complex images. Whether you are a graphic designer, photographer, or content creator, Snapclear simplifies the process and delivers exceptional results. Remember, Snapclear offers different plans, including a free plan with limited monthly actions and premium plans for unlimited actions. Choose the plan that best suits your needs and enjoy the convenience of AI-powered.
Embrace the power of AI and unlock new possibilities in your creative journey with Snapclear!